
Materials:
Coffee filters
Water color
Water
Paintbrushes
Googly eyes
Glue stick
Construction paper (brown, yellow, orange)
Newspaper or anything to protect your table
How To:
Step 1 First, get your supplies ready. Then cut out your turkey body however you like. The first one can be used as a stencil if you are trying to make a lot of them. I did this with my 2nd grade class so it was a lot easier to make them all the same.
Step 1 First, get your supplies ready. Then cut out your turkey body however you like. The first one can be used as a stencil if you are trying to make a lot of them. I did this with my 2nd grade class so it was a lot easier to make them all the same.
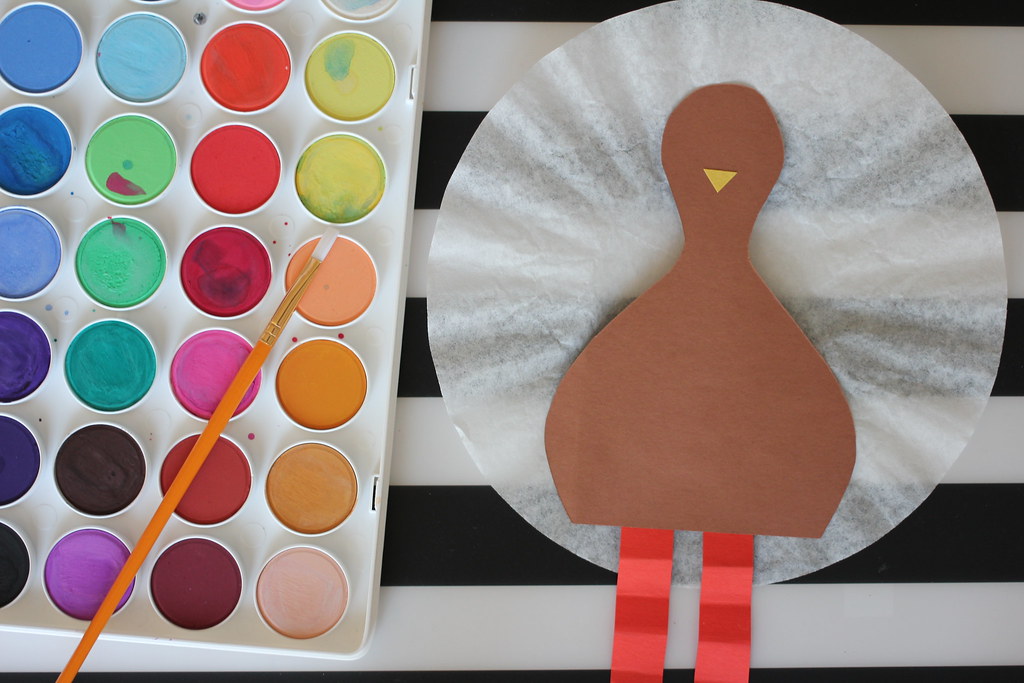
Step 2 Now it's time to make the rest of the body! I folded the feet so the turkey would be more styled and the beak is just a tiny triangle. I thought googly eyes would be easier for kids to glue on instead of having them cut out tiny eyes. A gobble can be created if you want, but I just had my students use a red pen and draw it on.
Step 3 Now, for the real fun part. Take your coffee filter and flatten it out. Then get creative with your coffee filter! I encouraged my students to use all sorts of different colors and patterns. They turned out pretty great, but unfortunately I did not get too many pictures of them. If you're working with little kids, they need to be reminded to not use TOO MUCH water. There were many coffee filters that were drenched and took a really long time to dry.
Step 4 Once the water color dries, use a glue stick and glue on the turkey to its wings. You don't want to potentially rip the thin and fragile coffee filter, so don't use liquid glue.
Viola! You now have a colorful turkey to decorate around the Thanksgiving table! I loved doing this project because it was simple and the kids had a blast while doing it. Have fun and have an incredible Thanksgiving!
Love,
Jessie
No comments
Post a Comment